


How to Roast Coffee Beans: A Complete Guide From Green to Cup
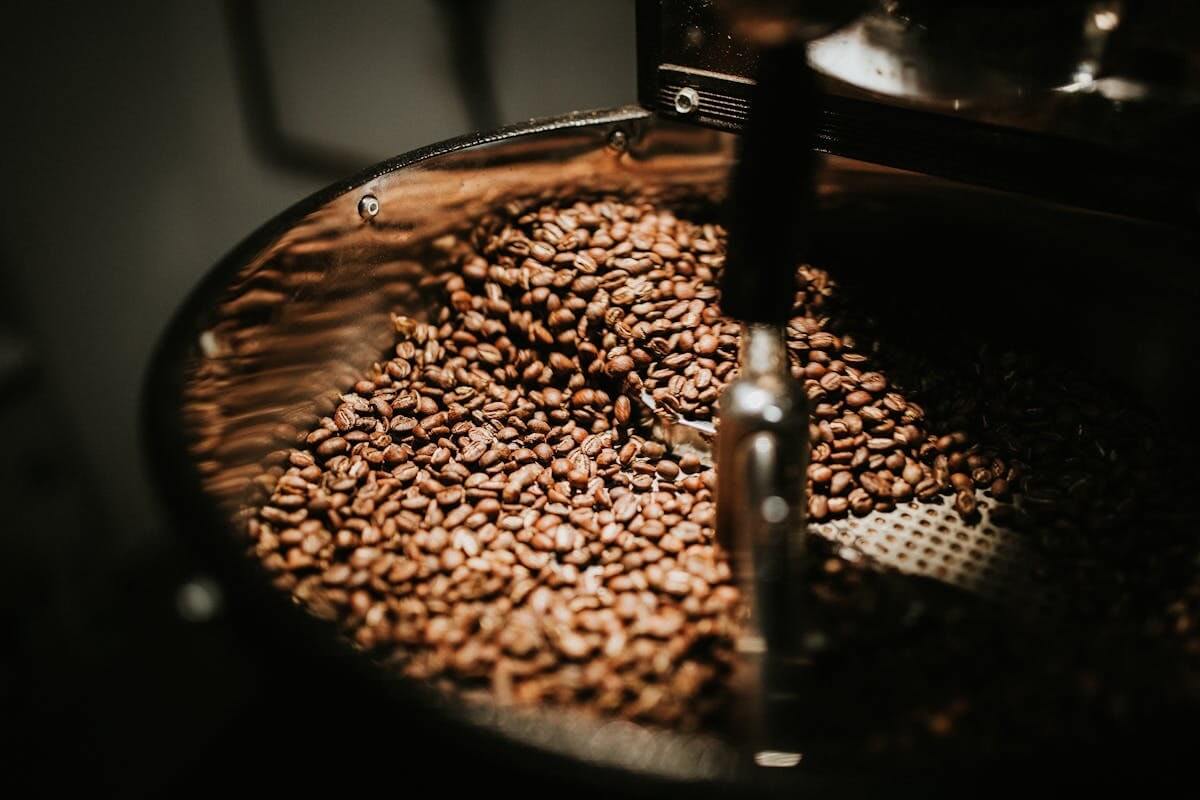
Learning how to roast coffee beans transforms an oddly interesting kitchen experiment into a genuinely useful skill once you understand what’s actually happening inside those beans as they heat up. Roasting is the single step responsible for turning green coffee’s grassy, bitter raw state into the complex, aromatic product people actually drink, and understanding the process in real depth, not just following a timer, helps you consistently produce better results whether you’re roasting a small batch at home or thinking about what it takes to do this at a larger scale. This guide covers the full process from equipment and green bean selection through the actual roasting stages, cooling, and what happens once you’re ready to move beyond hobbyist batches.
What You Need Before You Start Roasting
Getting started with home roasting requires less specialized equipment than people often assume, though understanding your options helps you pick something that actually fits your goals.
Roasting Equipment Options
Home roasters generally choose between a few equipment categories. Dedicated home roasting machines offer the most consistent, repeatable results, with programmable temperature and airflow controls that make dialing in a specific roast profile considerably easier than improvised methods, though they represent the highest upfront investment among the common options. Popcorn poppers, particularly hot air models, work surprisingly well as an inexpensive entry point, using hot air circulation similar in principle to more expensive dedicated machines, though most poppers weren’t designed for the sustained heat coffee roasting requires and may wear out faster than they would popping actual popcorn. Stovetop roasting in a cast iron pan or dedicated stovetop roaster requires more hands on attention and constant stirring but costs almost nothing beyond a pan you likely already own, making it the most accessible starting point for anyone simply curious whether they’ll enjoy the process before investing further. Whichever option you choose, learning how to roast coffee beans well starts with understanding your specific equipment’s heat delivery and airflow characteristics, since the same green coffee behaves differently depending on which method you’re using, and a roast profile that works well on a dedicated machine may need meaningful adjustment when replicated on a stovetop setup.
Choosing Green Coffee to Roast
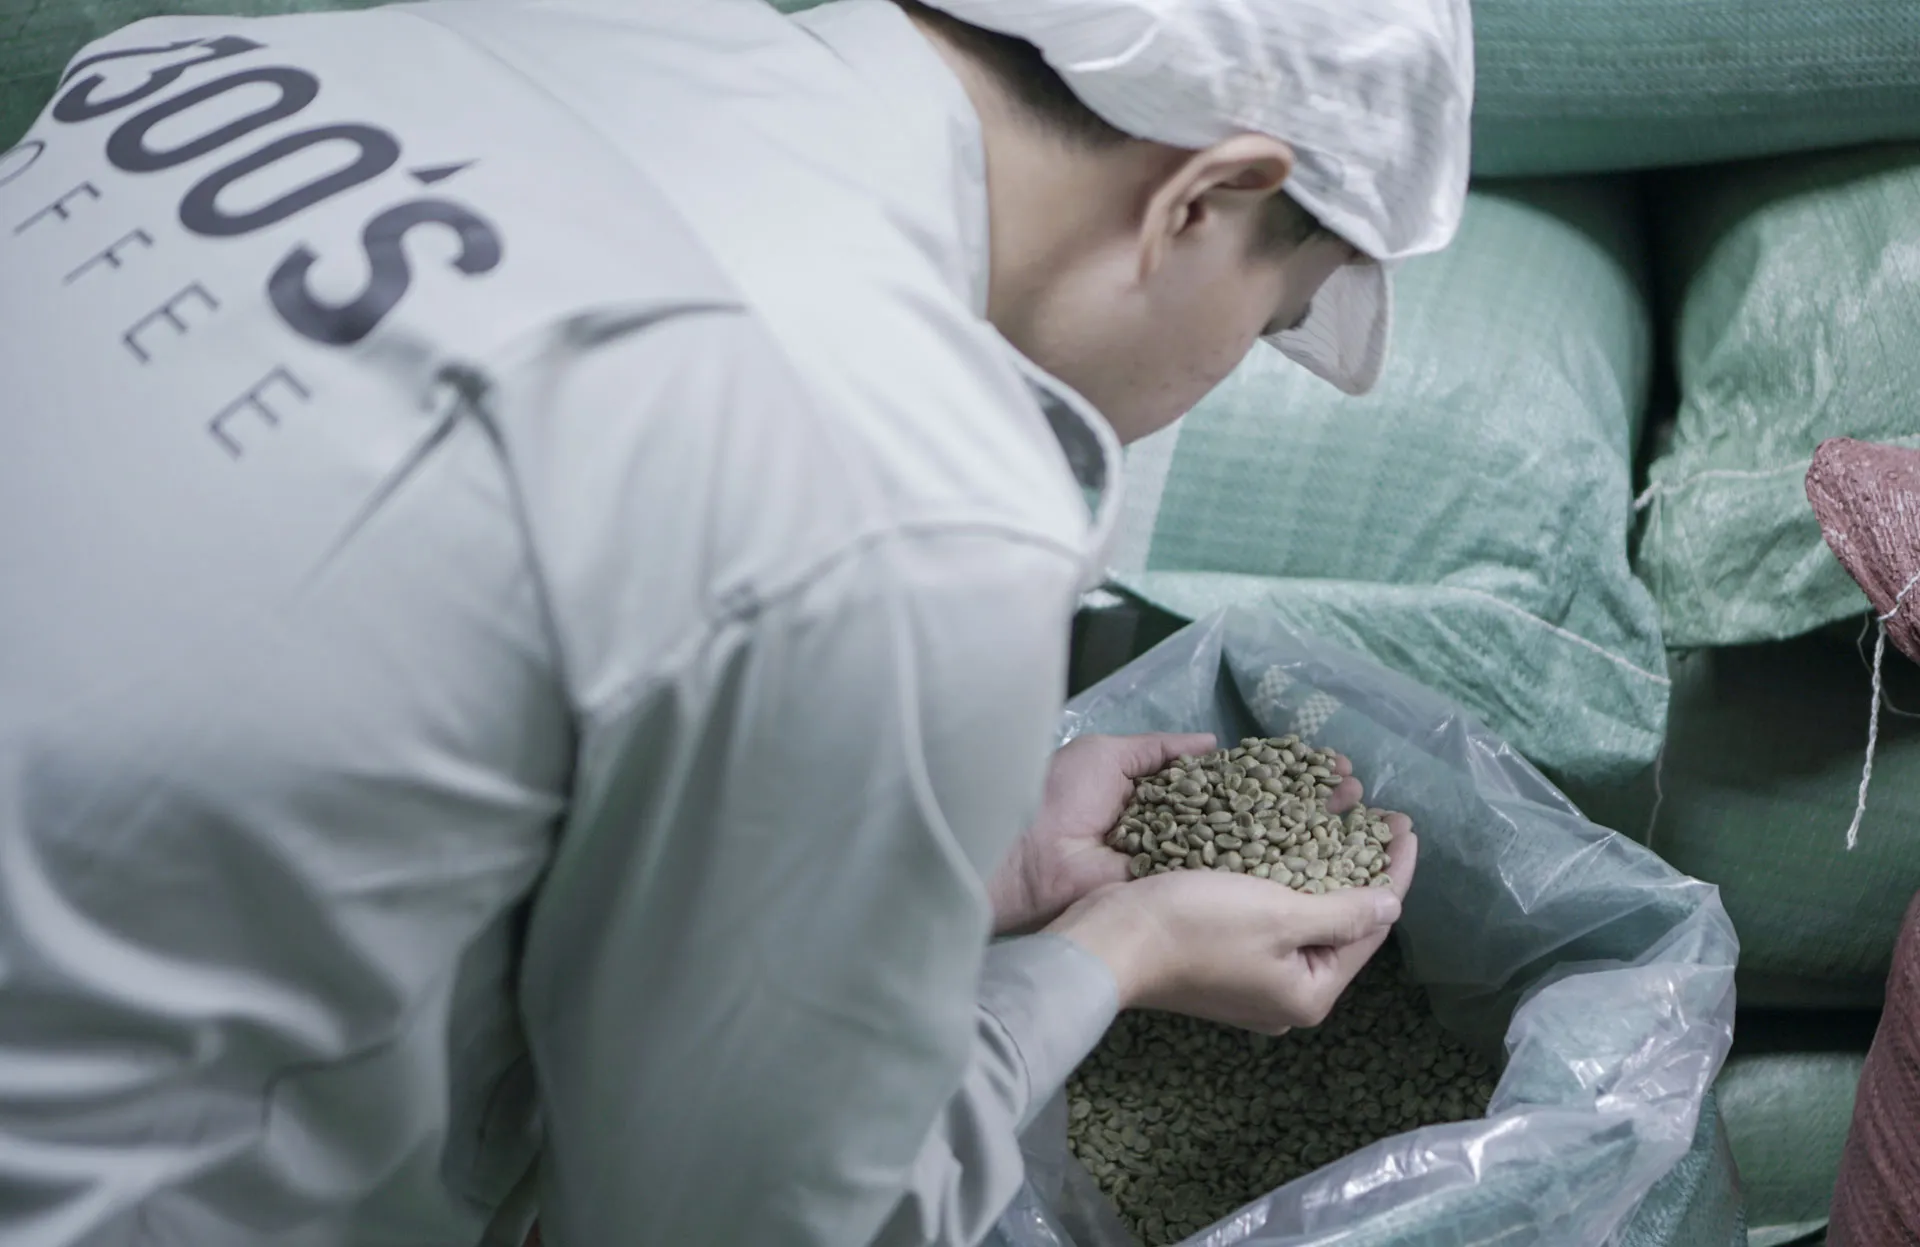
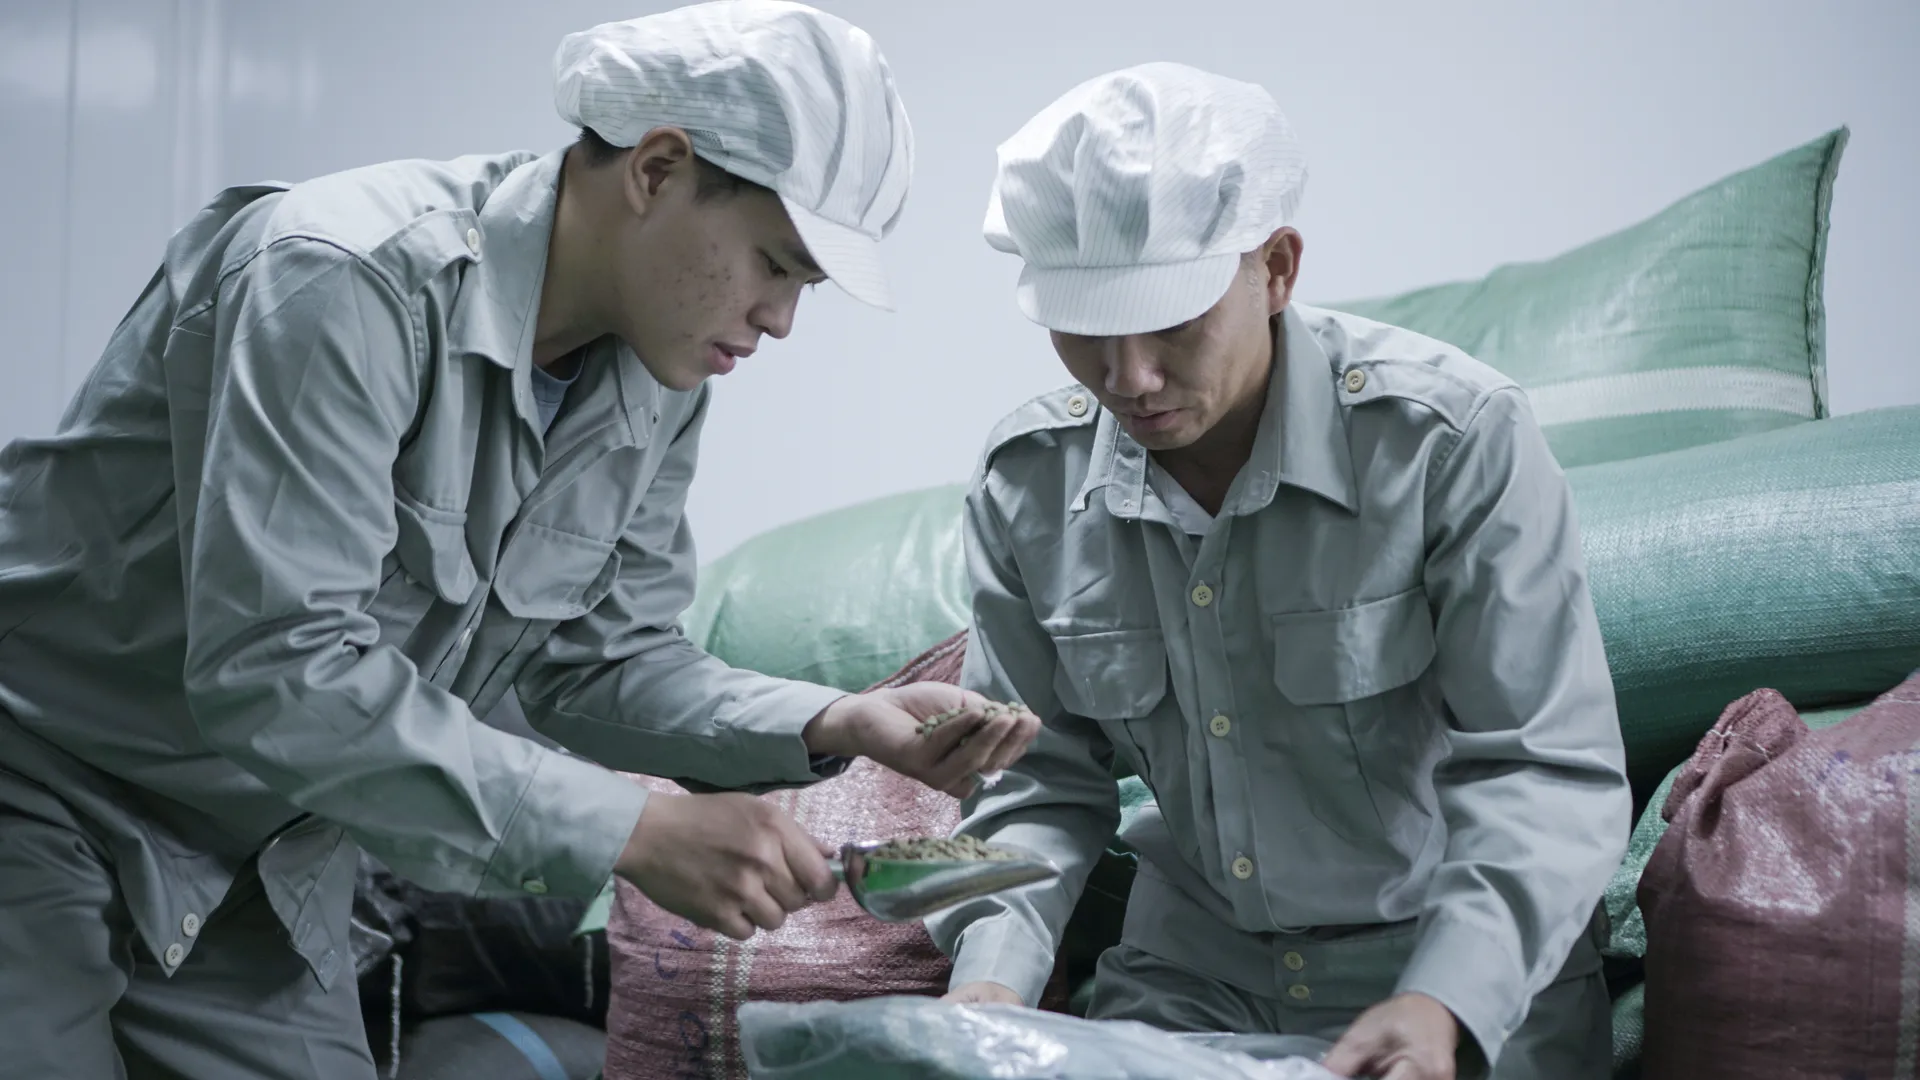
Green coffee quality matters just as much to your final result as roasting technique itself, since no roasting skill can fully compensate for poor quality or improperly stored green beans. Look for beans with consistent color and size, avoiding lots with visible defects, discoloration, or an off smell that suggests improper drying or storage before it ever reached you. Freshness matters too, green coffee roasted within a reasonable window of its harvest generally produces better results than beans that have sat in storage for an extended period, even though green coffee’s shelf life is considerably longer than roasted coffee’s.
Choosing Green Coffee to Roast
Understanding the Roast Stages
Roasting moves through several distinct phases, and recognizing each one by sight, sound, and smell is what actually separates confident, repeatable roasting from guesswork.
The Drying Phase
The first several minutes of roasting involve driving off the moisture still present in green coffee, typically around 10 to 12 percent by weight. During this drying phase, beans transition from their green or blue green raw color toward a yellowish tan, and you’ll notice a distinctly grassy, hay like smell rather than anything resembling coffee aroma yet. This phase doesn’t develop flavor on its own, but rushing through it by applying too much heat too quickly can produce uneven results later in the roast, since beans that haven’t dried evenly won’t roast evenly either.
First Crack and the Start of Real Roasting
As roasting continues past the drying phase, beans begin to audibly crack, a sound similar to popcorn popping, known as first crack. This marks the point where beans have reached roughly 385 to 400 degrees Fahrenheit internally and structural changes begin releasing built up pressure and moisture from inside the bean. First crack is the earliest point at which coffee becomes technically drinkable, producing a very light roast with pronounced acidity and minimal body, though most roasters continue past this point to develop more balanced flavor.
Development Time and Second Crack
The period after first crack, commonly called development time, is where most of a roast’s actual flavor character gets determined, and how long you extend this phase directly shapes the final roast level. This window typically lasts anywhere from one to several minutes depending on your target roast level, and tracking development time as a percentage of your total roast time, rather than just watching the clock in isolation, helps produce more consistent results across different batches even when total roast duration varies slightly due to ambient temperature or bean moisture differences. Continuing further leads to second crack, a quieter, more subtle cracking sound occurring around 435 to 445 degrees Fahrenheit, marking the transition into darker roast territory where oils begin migrating to the bean’s surface and body increases while acidity diminishes further. Learning how to roast coffee beans to a specific, repeatable roast level really comes down to mastering how you manage this development period consistently across multiple roasting sessions, since even small variations in when you pull beans relative to first and second crack produce noticeably different results in the final cup.
Choosing Your Roast Level
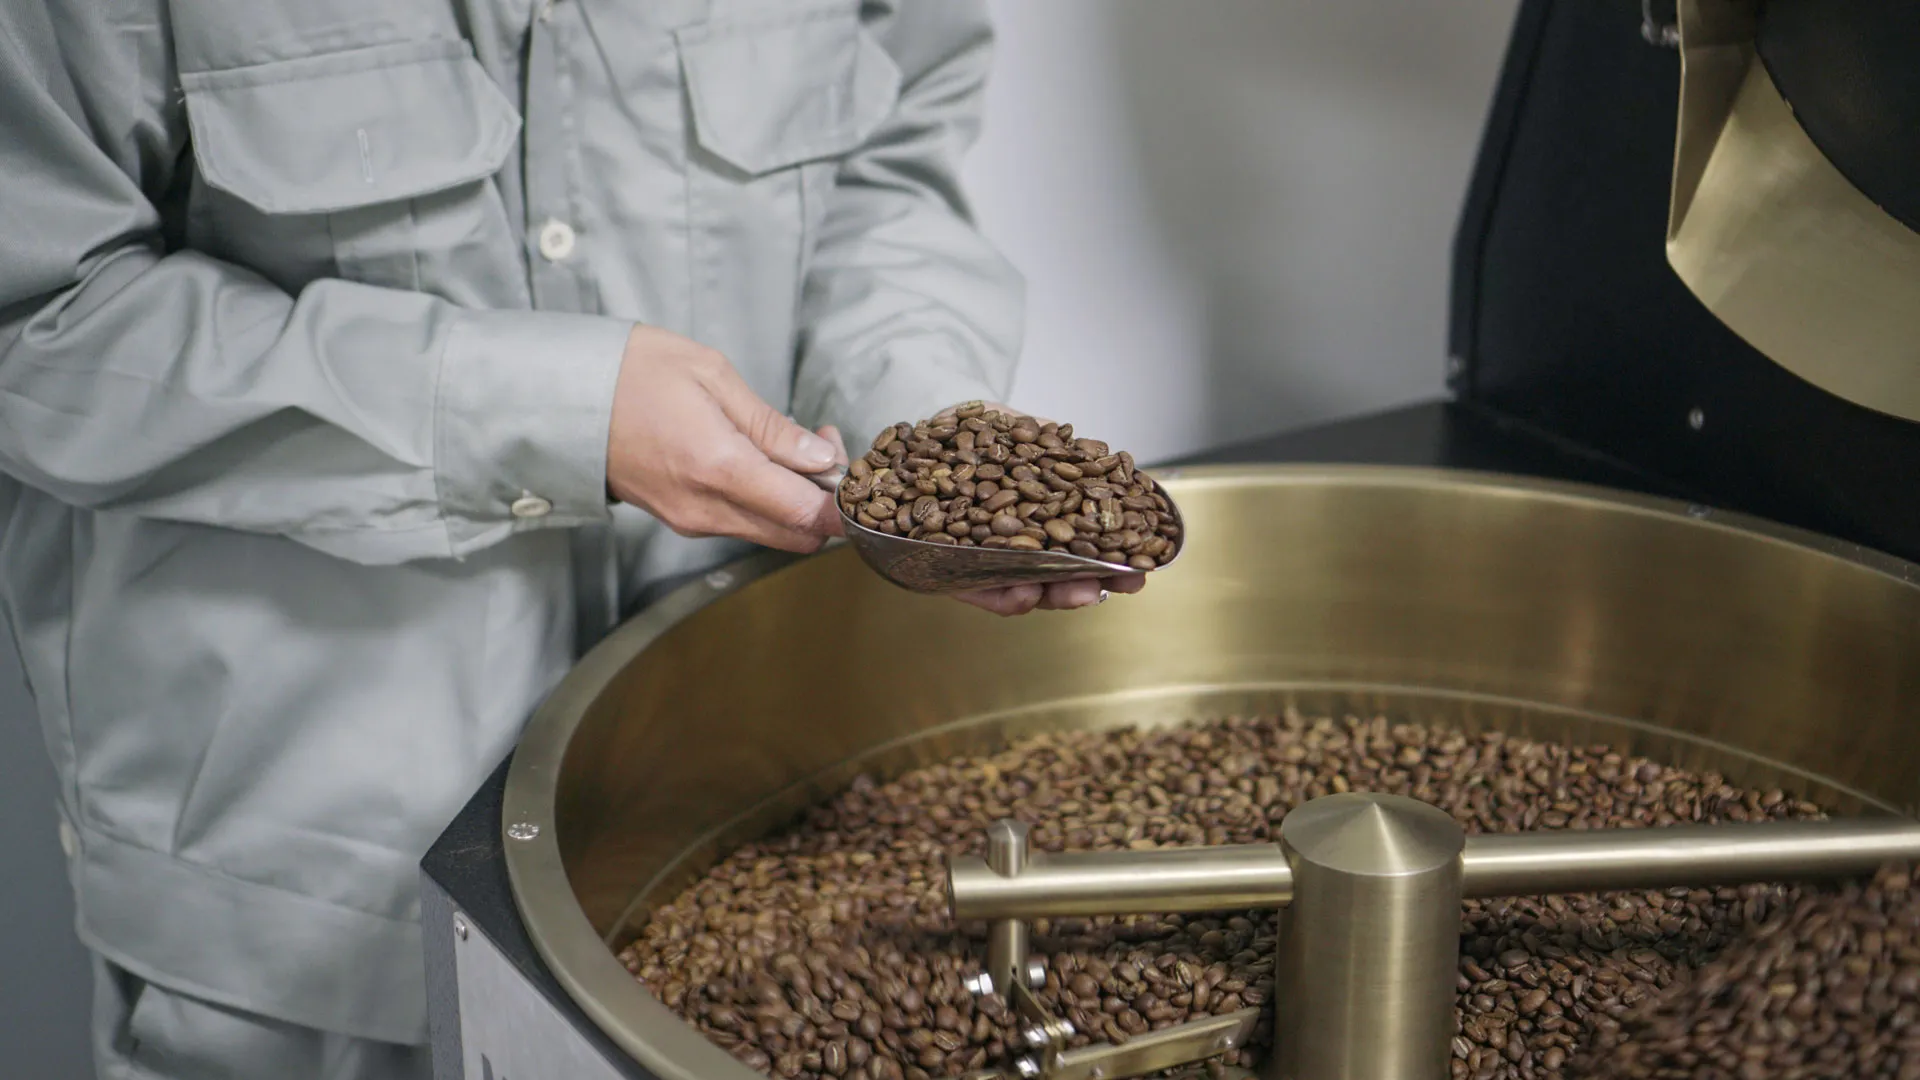
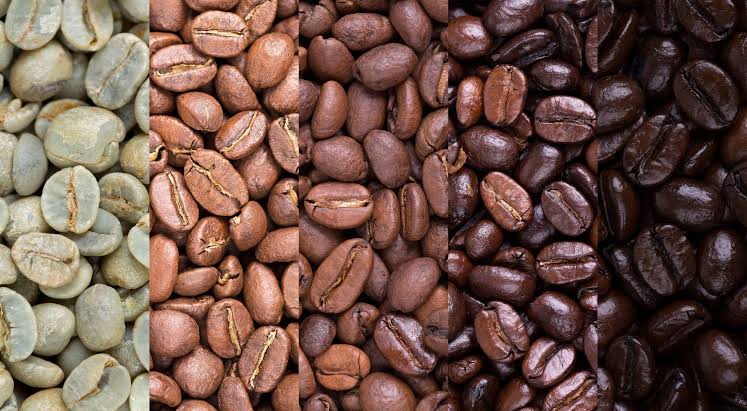
Roast level ultimately comes down to personal preference and intended use rather than any objectively correct endpoint. Light roasts, stopped shortly after first crack, preserve more of a bean’s origin character, brighter acidity, and complex flavor notes, favored by drinkers and roasters who want a coffee’s specific terroir to come through clearly, though light roasts also tend to be less forgiving of any underlying green coffee quality issues, since there’s less roast development to mask a mediocre bean. Medium roasts, extending development further into the period between first and second crack, balance origin character against fuller body and reduced acidity, generally the most broadly appealing profile for everyday drinking and the safest starting point for anyone still calibrating their palate and roasting technique. Dark roasts, pushed into or past second crack, prioritize bold, low acidity flavor with pronounced roast character, often masking more subtle origin differences in favor of a consistently strong, familiar taste, and while dark roasts are sometimes dismissed by specialty focused roasters as hiding bean quality, a well executed dark roast remains a legitimate and popular choice rather than an inherently inferior one.
Choosing Your Roast Level
Cooling and Resting Your Roasted Coffee
Roasting doesn’t end the moment beans reach your target color, and what happens immediately afterward affects final quality just as much as the roast itself.
Why Rapid Cooling Matters
Beans continue cooking from residual heat even after being removed from the roasting chamber, meaning rapid cooling is essential to stop this carryover roasting at your intended endpoint rather than accidentally overshooting into a darker roast than planned. Home roasters typically use a cooling tray with airflow, or simply transfer beans to a colander and stir continuously in front of a fan, to bring temperature down quickly and evenly.
Degassing and Rest Time Before Brewing
Freshly roasted coffee releases carbon dioxide for several days after roasting, a process called degassing, and brewing too soon after roasting often produces an unbalanced, sometimes overly bubbly extraction as trapped gas interferes with even water contact. Most roasters recommend resting coffee for at least 24 to 48 hours after roasting before brewing, with many specialty applications benefiting from a full week of rest to let flavors fully settle, particularly for espresso preparation where excess gas causes more noticeable extraction problems than it does with simpler brewing methods.
When to Roast Coffee Beans Timing and Frequency
Deciding when to roast coffee beans comes down to balancing freshness against practical batch planning. Roasting in smaller, more frequent batches ensures you’re always brewing from relatively fresh coffee, generally within its first two to three weeks past roasting, when flavor is at its best. Roasting too far ahead of when you’ll actually use the coffee wastes the freshness advantage home roasting is supposed to provide in the first place, since the whole point of roasting your own coffee is typically to access fresher product than what’s commonly available through standard retail channels.
From Home Roasting to Commercial Scale
Once you’ve developed genuine confidence roasting small batches, some hobbyists start wondering what it would actually take to roast at a larger, commercial scale, whether supplying a small local customer base or exploring roasted coffee wholesale supply more seriously. This transition involves considerably more than simply scaling up a home roaster, commercial roasting requires equipment capable of larger batch sizes with tighter temperature control, proper ventilation and smoke management, and food safety certifications appropriate to selling coffee commercially rather than roasting purely for personal consumption.
Sourcing green coffee at this scale also shifts meaningfully, moving from small retail bags toward a relationship with an established green coffee source capable of providing lot specific documentation and consistent volume rather than whatever happens to be available through a hobbyist retailer. This is typically the point where a serious roaster starts evaluating whether a specific supplier can genuinely support their formulation goals, an early sign of the more formal sourcing relationship covered in the next section.
Sourcing Green Coffee for Roasting at Volume
Businesses moving beyond hobbyist roasting into any kind of commercial operation need to think carefully about their green coffee sourcing strategy specifically. Working with a genuine specialty coffee supplier, rather than a general trader offering only commodity grade volume, matters for roasters wanting to build a differentiated product line around specific origins and processing methods rather than competing purely on price against larger, more established roasters. A supplier offering genuine specialty coffee wholesale access specifically supports this kind of differentiation, since it provides the lot level cupping data and documented processing methods a commodity focused source typically can’t. Buyers at this stage should request cupping samples and lot specific grading data before committing to any meaningful volume, applying the same quality standards to a commercial green coffee relationship that a careful home roaster already applies when selecting beans for personal use, just at a scale that requires more formal documentation and consistency guarantees.
Grinding Roasted Coffee for Different Brewing Methods
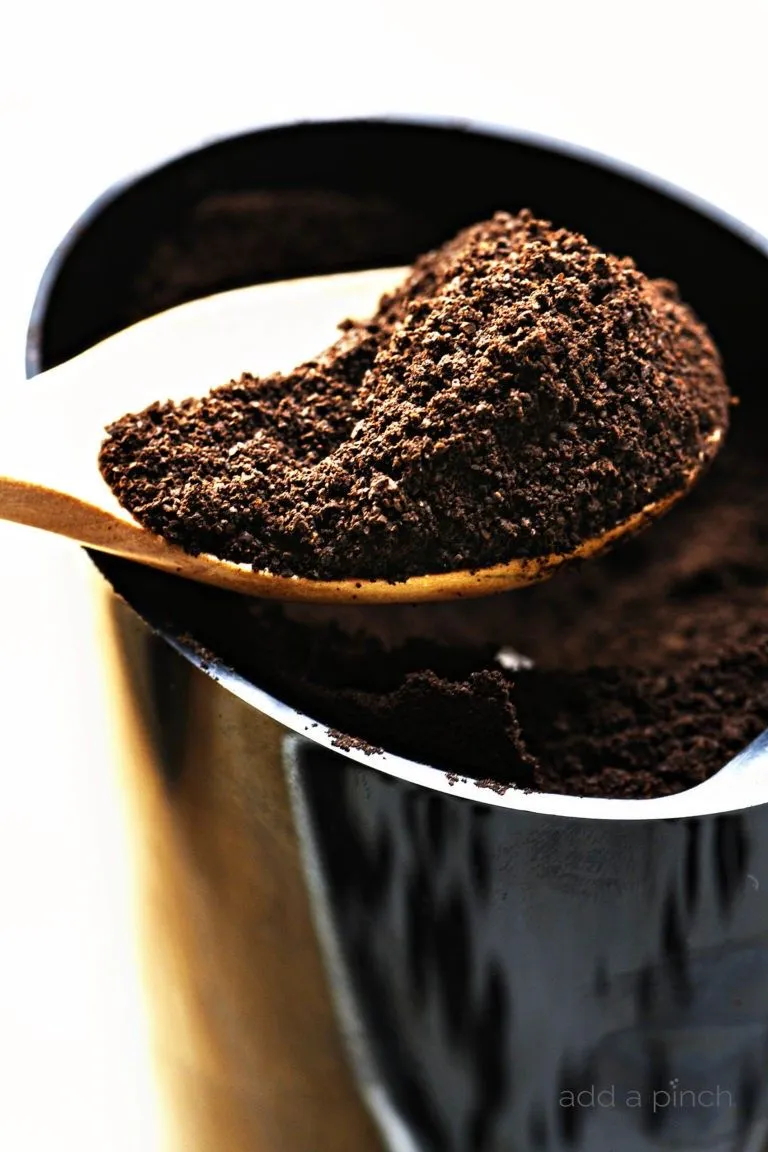
Once you’ve roasted a batch successfully, grinding it correctly matters just as much to the final cup as the roast itself. Grind size needs to match your intended brewing method, a coarser grind for French press, medium for standard drip, and fine for espresso, similar to the precision a ground coffee wholesale supplier applies when calibrating grind for a specific commercial customer’s brewing setup. Grinding only what you’re about to brew, rather than grinding a large batch in advance, preserves freshness considerably better, since ground coffee’s increased surface area accelerates staling far more than whole bean storage does.
Packaging Roasted Coffee for Drip Bags and Other Formats
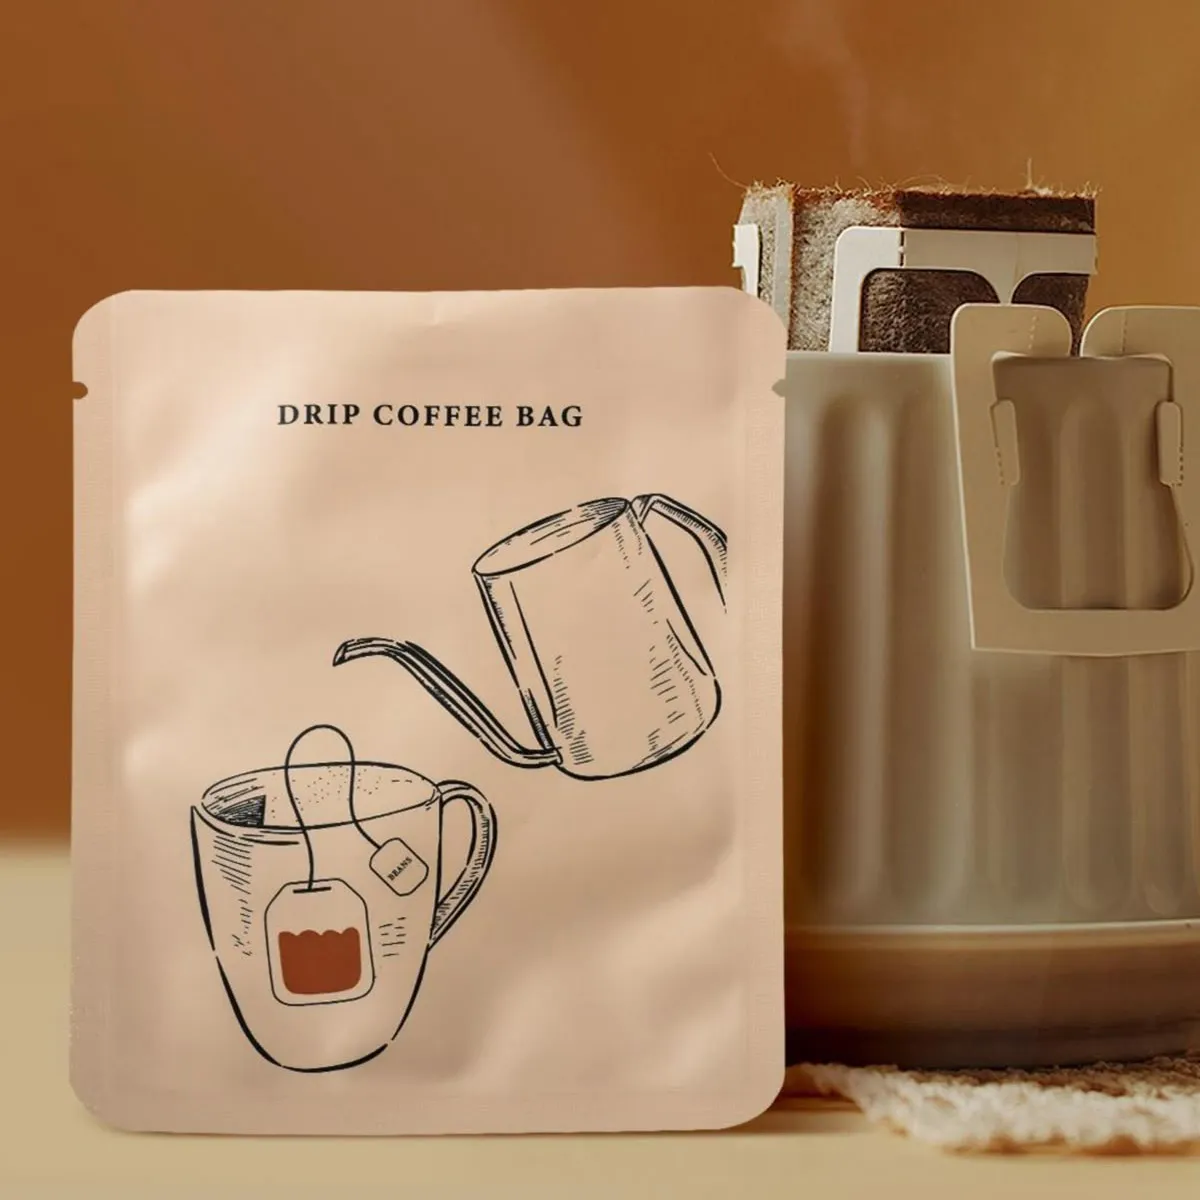
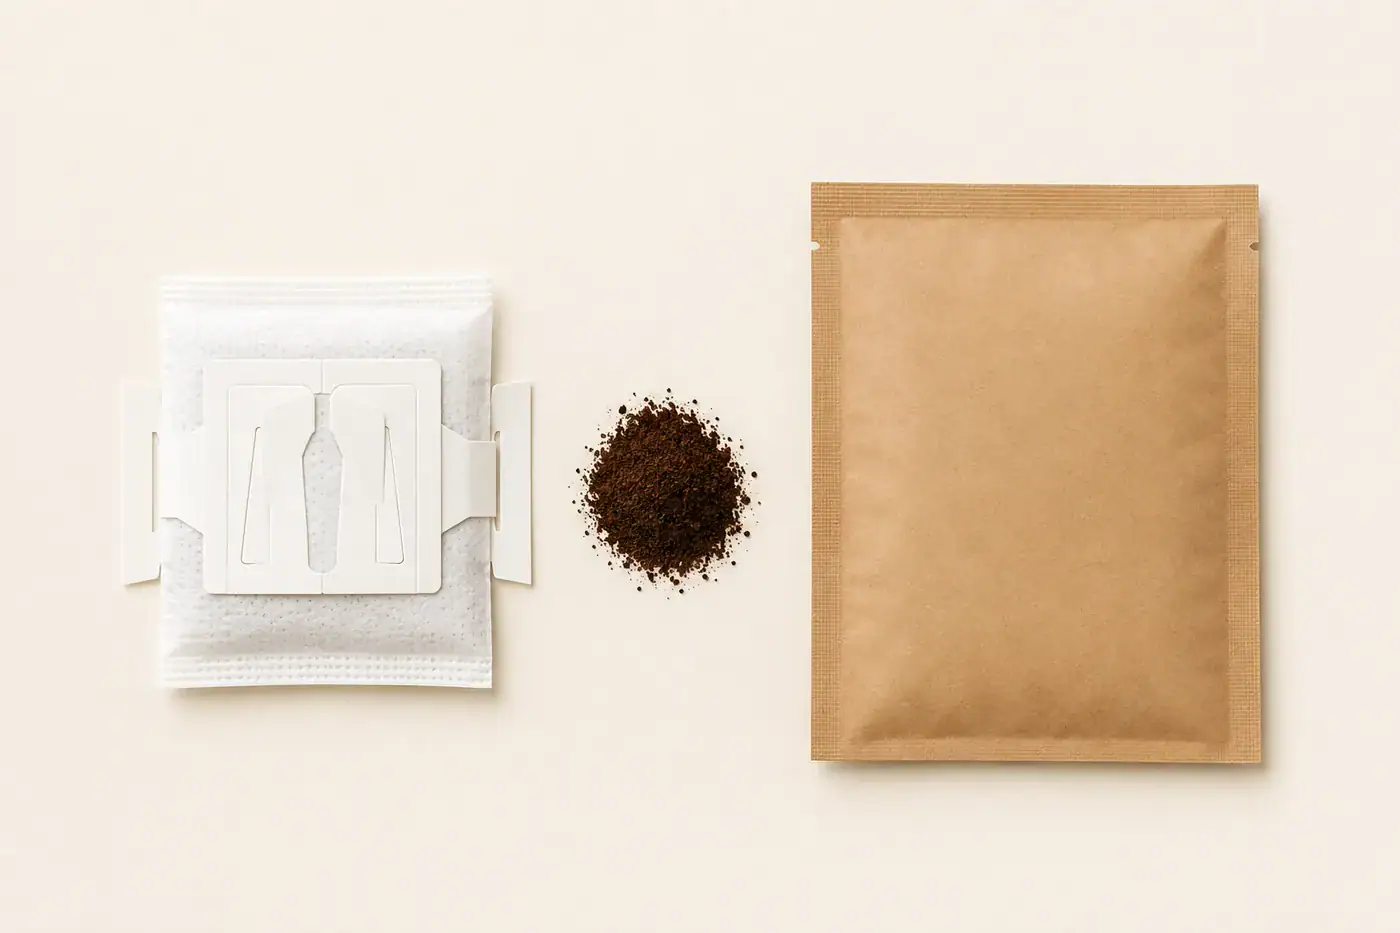
Some home roasters interested in sharing or gifting their coffee more formally look toward packaging it into single serve drip bags rather than selling or giving away whole bean bags alone. This format requires a specific grind calibration and a filter material fine enough to hold grounds while allowing even water flow, the same considerations a drip coffee supplier works through when producing this format commercially. While replicating commercial-grade drip bag production at home has real limitations, understanding the format gives home roasters a useful reference point if they ever consider offering their coffee this way to friends, family, or a small customer base.
Packaging Roasted Coffee for Drip Bags
Instant Coffee as a Different Production Path Entirely
Businesses eventually moving into higher volume production sometimes explore an entirely different path from home roasting altogether, instant coffee wholesale manufacturing, which involves spray or freeze drying brewed coffee into a soluble format rather than the roasting process covered throughout this guide. Buyers planning an instant coffee bulk buy relationship for a private label product should understand that this represents a genuinely separate production chain, still starting from the same fundamental green coffee sourcing decisions, but diverging completely from anything a home roaster’s equipment or process could realistically replicate.
Common Roasting Mistakes to Avoid
A handful of recurring issues trip up people learning how to roast coffee beans for the first time. Roasting too hot too quickly rushes through the drying phase and often produces scorched, unevenly roasted beans with a harsh, ashy flavor rather than properly developed roast character, a common mistake among beginners eager to shorten total roast time without understanding why the drying phase needs adequate time to complete evenly. Underestimating carryover heat and pulling beans too late, assuming visual color alone tells the full story without accounting for continued cooking during cooling, frequently results in a darker roast than intended, catching new roasters off guard when their beans continue darkening noticeably even after being removed from heat. Brewing immediately after roasting, skipping the necessary rest period, produces an unbalanced cup regardless of how well the actual roast itself was executed, a mistake that’s easy to make simply out of impatience to try a fresh batch immediately. And roasting inconsistent batch sizes without adjusting timing accordingly, treating every roast as though it should follow an identical schedule regardless of how much green coffee is actually in the chamber, overlooks how batch size affects heat distribution and total roast time in ways that a fixed formula simply can’t account for.
Getting Started
Whether you’re roasting your first batch at home or thinking seriously about what it takes to scale toward a commercial operation, understanding the full process, from equipment and green bean selection through the actual roast stages and proper cooling, gives you a genuinely solid foundation to build real skill and consistency over time. Considering a move from home roasting toward sourcing green coffee at commercial volume? Request a sample and cupping data from 1300’S Coffee to evaluate quality and consistency as you scale your roasting operation.
Read more: Where Do Coffee Beans Come From? A Guide to Origin and the Journey to Your Cup


1300s BLOG YOU MAY ALSO BE INTERESTED IN
Where to Buy Vietnamese Coffee Wholesale for Importers and Roasters
Top 10 Best Green Coffee Suppliers for Specialty Roasters in 2026
Best Bulk Ground Coffee for Businesses Sourcing Ready to Brew Volume